
Heart Shaped Crayons
/A couple years ago I ran across this fun idea to make heart shaped crayons. I ordered a couple different silicone molds on Amazon, pulled out 30-years-worth of broken crayons, and began peeling the paper off. I soon discovered that old crayons don’t let go of their wrappers easily. But I persevered, and soon had enough to do a batch of 12 heart crayons.

After that first batch, I learned that I hadn’t put enough broken crayons in each heart mold. This resulted in some very thin hearts, and I wanted them to be more chunky. The next batch I filled the entire heart to almost overflowing, trying to mound them up in the center of the heart as best I could – think of building a camp fire with sticks. This allowed them to melt and settle nicely down into the mold, without overflowing the edges.
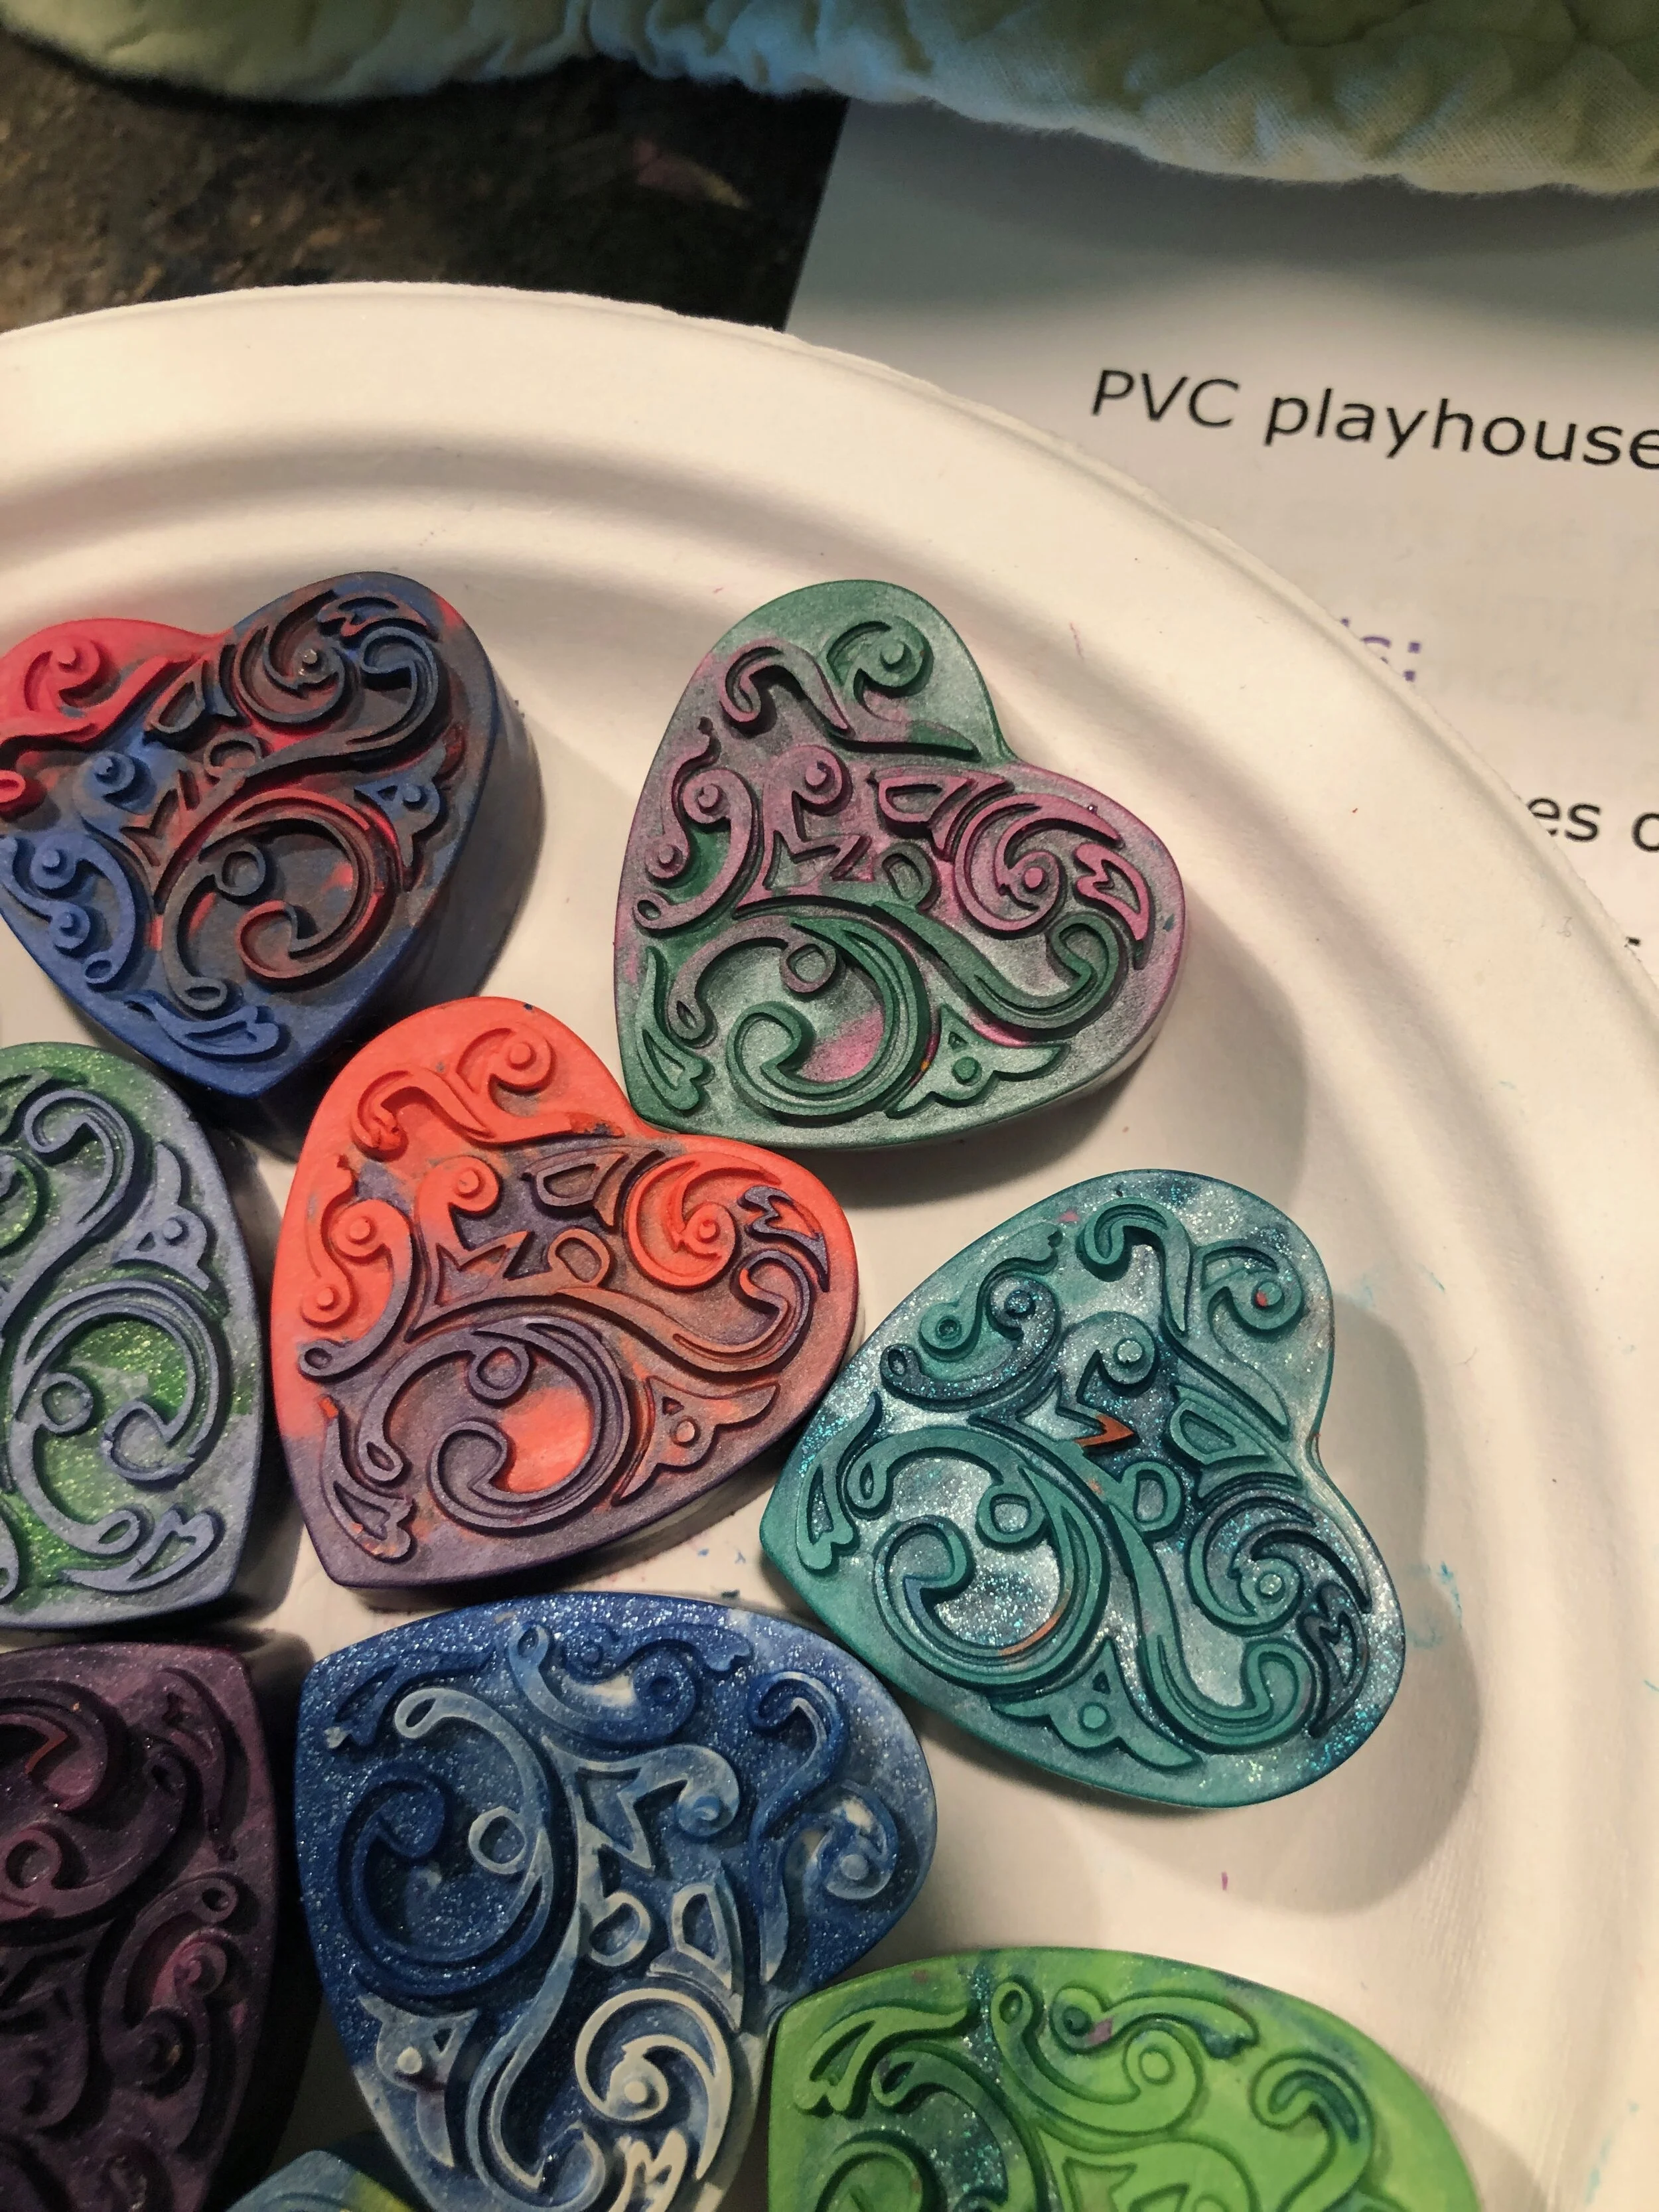
Mixing contrasting colors makes for more interesting hearts. And using the “ugly” colors in with the “pretty” colors works well too! When Covid started in February/March of 2020, I began thinking of ideas to do for my yearly “Grandma Camp” that I do each summer with my grandkids. I knew they would enjoy making the heart crayons, and it is also a great activity for kids of all ages. When I searched Crayola Crayons online, I discovered they come in every imaginable variety. I settled on the “Pearl” and “Metallic” 24 packs. I ordered one pack of each, as well as one silicone mold for each grandkid. This gave them a choice of what colors they preferred to make their hearts. And each one ended up with 12 hearts.

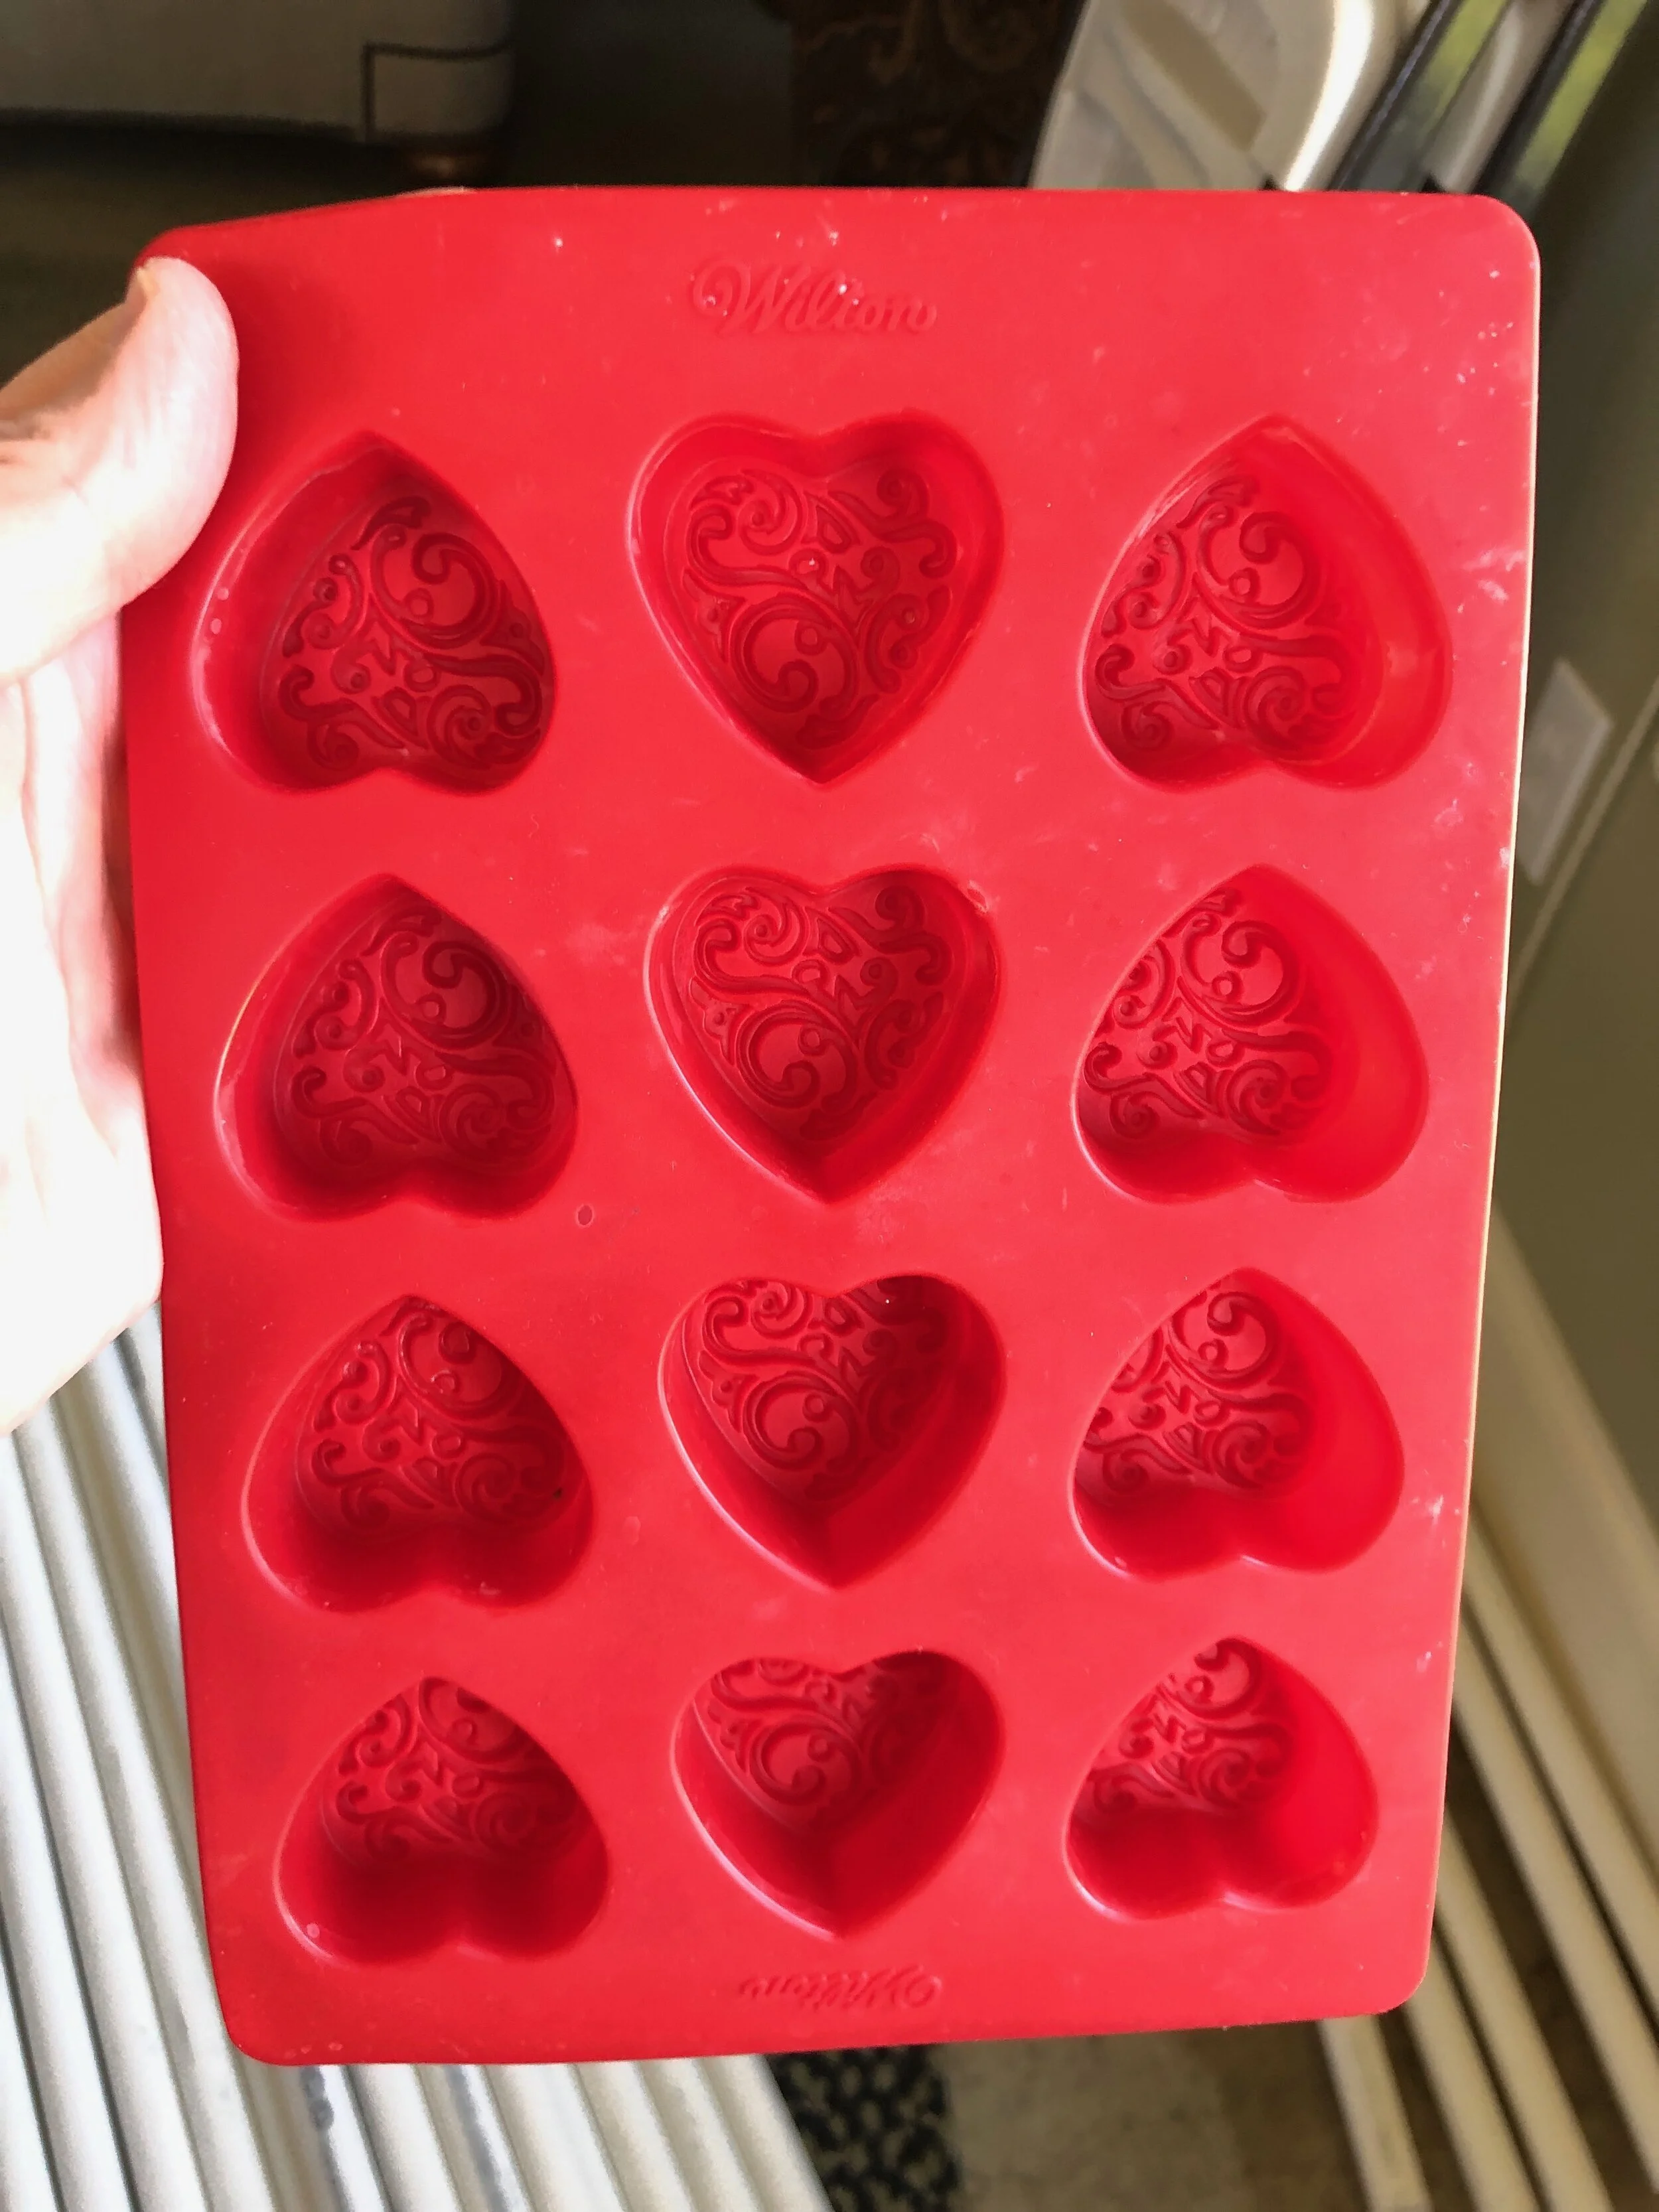
The silicone mold I used for Grandma Camp is made by Wilton, and has a fun engraved look on the front of the heart. I didn’t use any type of non-stick spray in the mold, and the crayons came out just fine without it.
Here are the directions:
Using a very sharp knife, cut through the wrapper on each crayon length-wise. This is a job for an adult – Be very careful, it’s easy to slip and cut your fingers. ☺ Let the kids peel the wrappers off after you have sliced the wrapper.
Break the crayons into small pieces, if they are not already broken.
Sort the crayons by colors that will work well together – greens and yellows; blues and purples; and pinks and reds. Be creative, some ugly colors end up blending nicely with pretty colors!
Fill each heart in the silicone mold with broken crayons. Be sure to fill it as full as it will go - I like to stack them up a little more in the center - even a little higher than the edges just a little bit. But make sure the crayon pieces all fit within the heart itself. For the small decorative Wilton brand mold, I used two crayons per heart.
Line a full size cookie sheet with tin foil, and place the crayon filled heart mold in the center. This will keep your oven clean, and save your cookie sheet in the event any of the melted crayons drip beyond the silicone mold.
Bake at 250 degrees for 15-20 minutes or until crayons are fully melted. I had to cook mine about twice as long. Don’t turn up the heat though or the crayons will burn. Just leave them in for as long as it takes to melt all the crayons to a liquid state. Leaving them in too long will make the colors blend too much, and the crayons will not be pretty colors anymore.
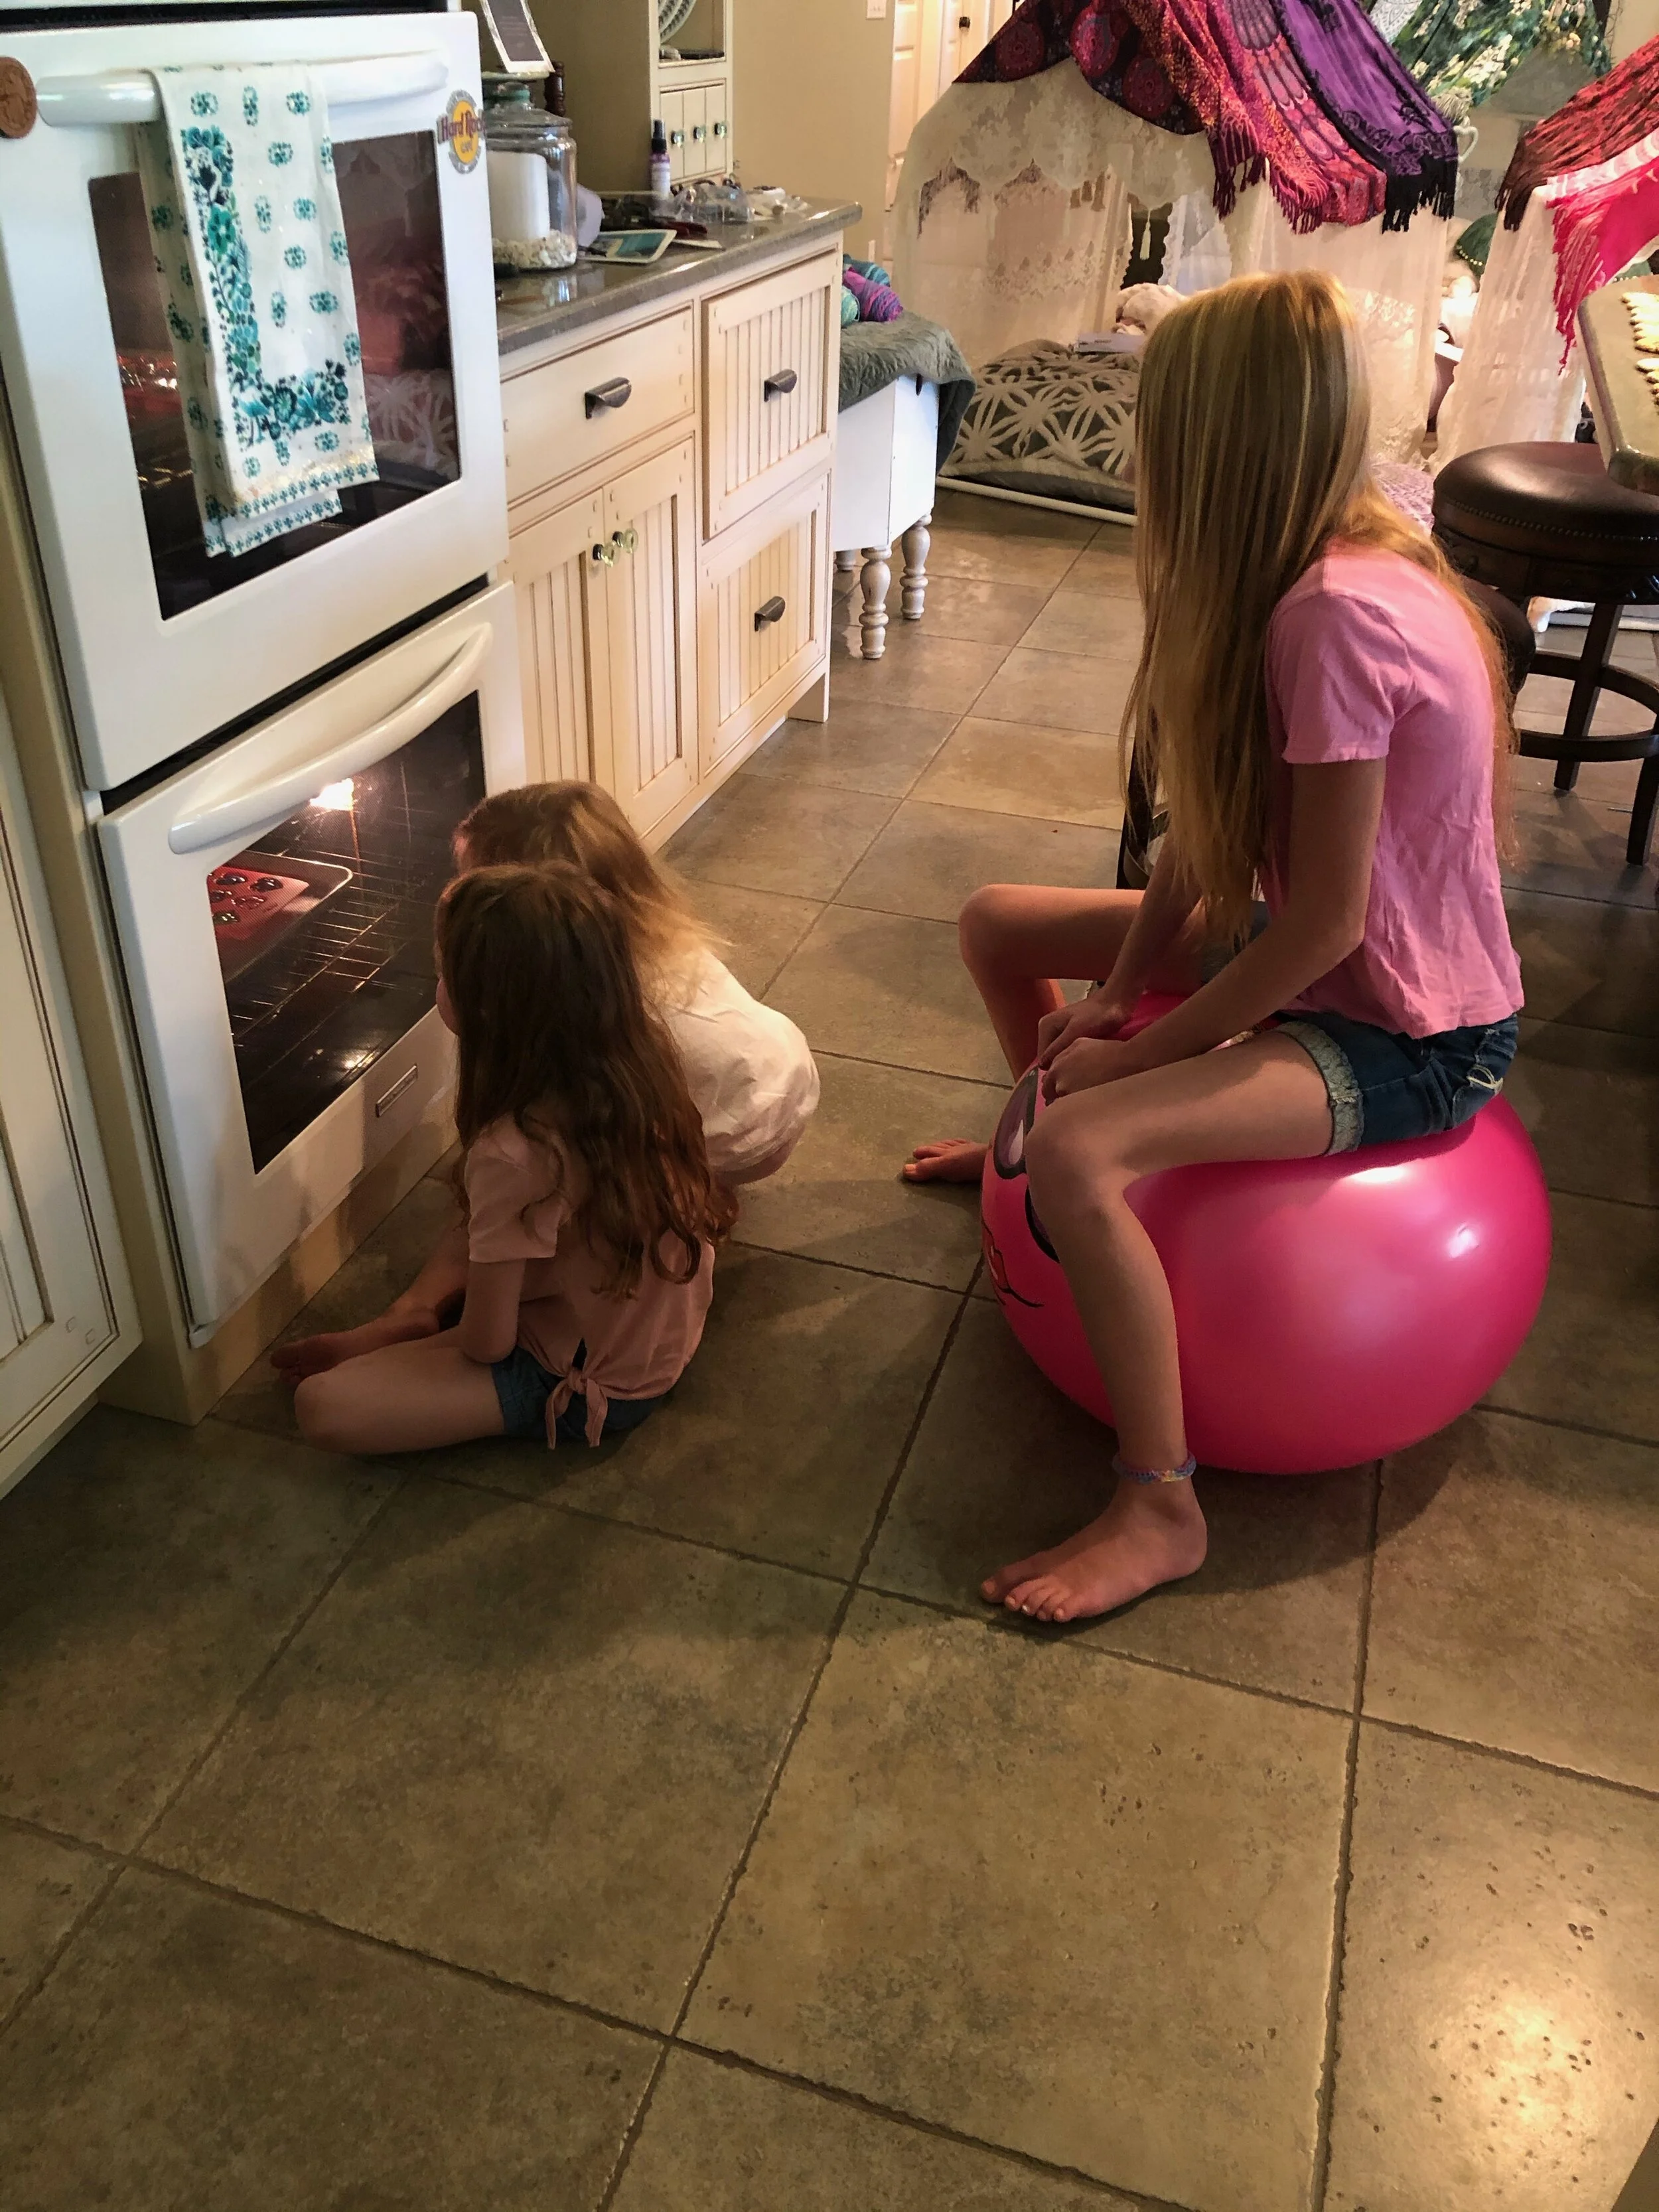
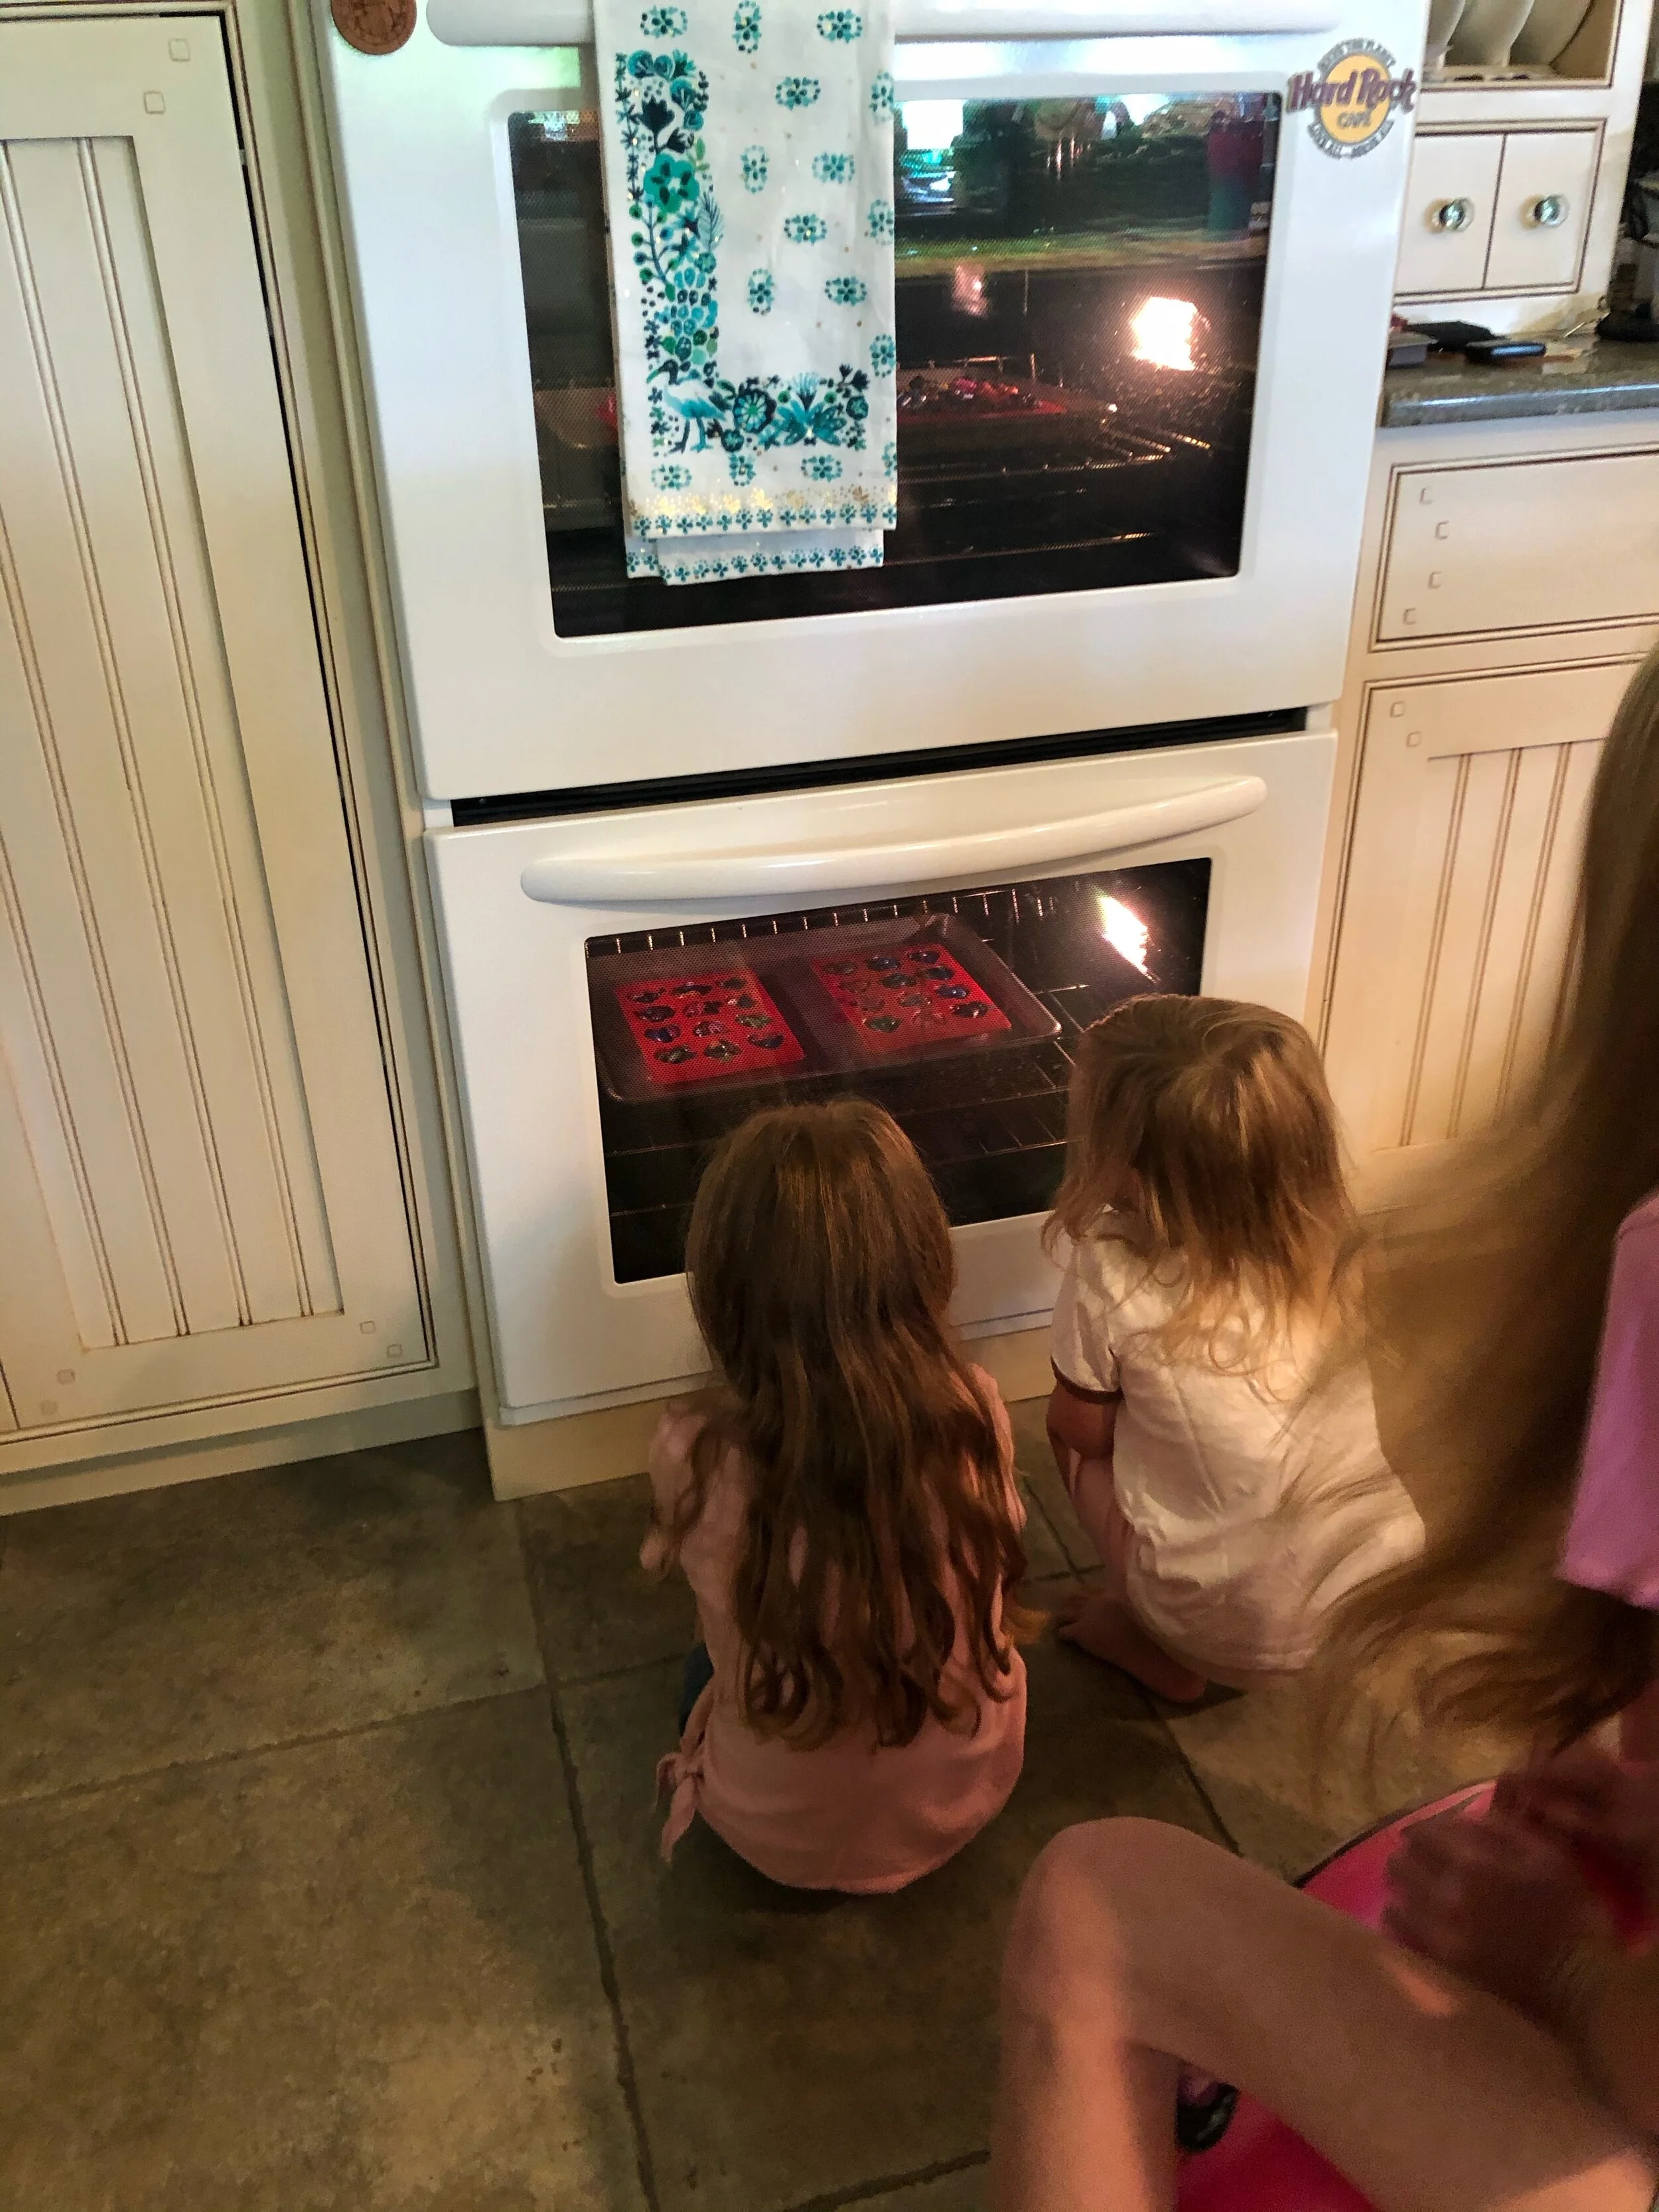
The kids LOVE to sit in front of the oven and watch them melt!!! I have to admit, I enjoyed sitting there with them and watching too.
This is the REALLY HARD PART – You must allow them to cool and harden completely before touching or removing them from the mold. I made sure we had another activity ready to do that would take enough time for the hearts to cool. When done wash the mold with really hot soapy water after removing the hearts.
Each one is a mini-masterpiece! Keep them for yourself, or share them with friends! These are fun year round, but make especially fun Valentines.
Love Ya, Les