
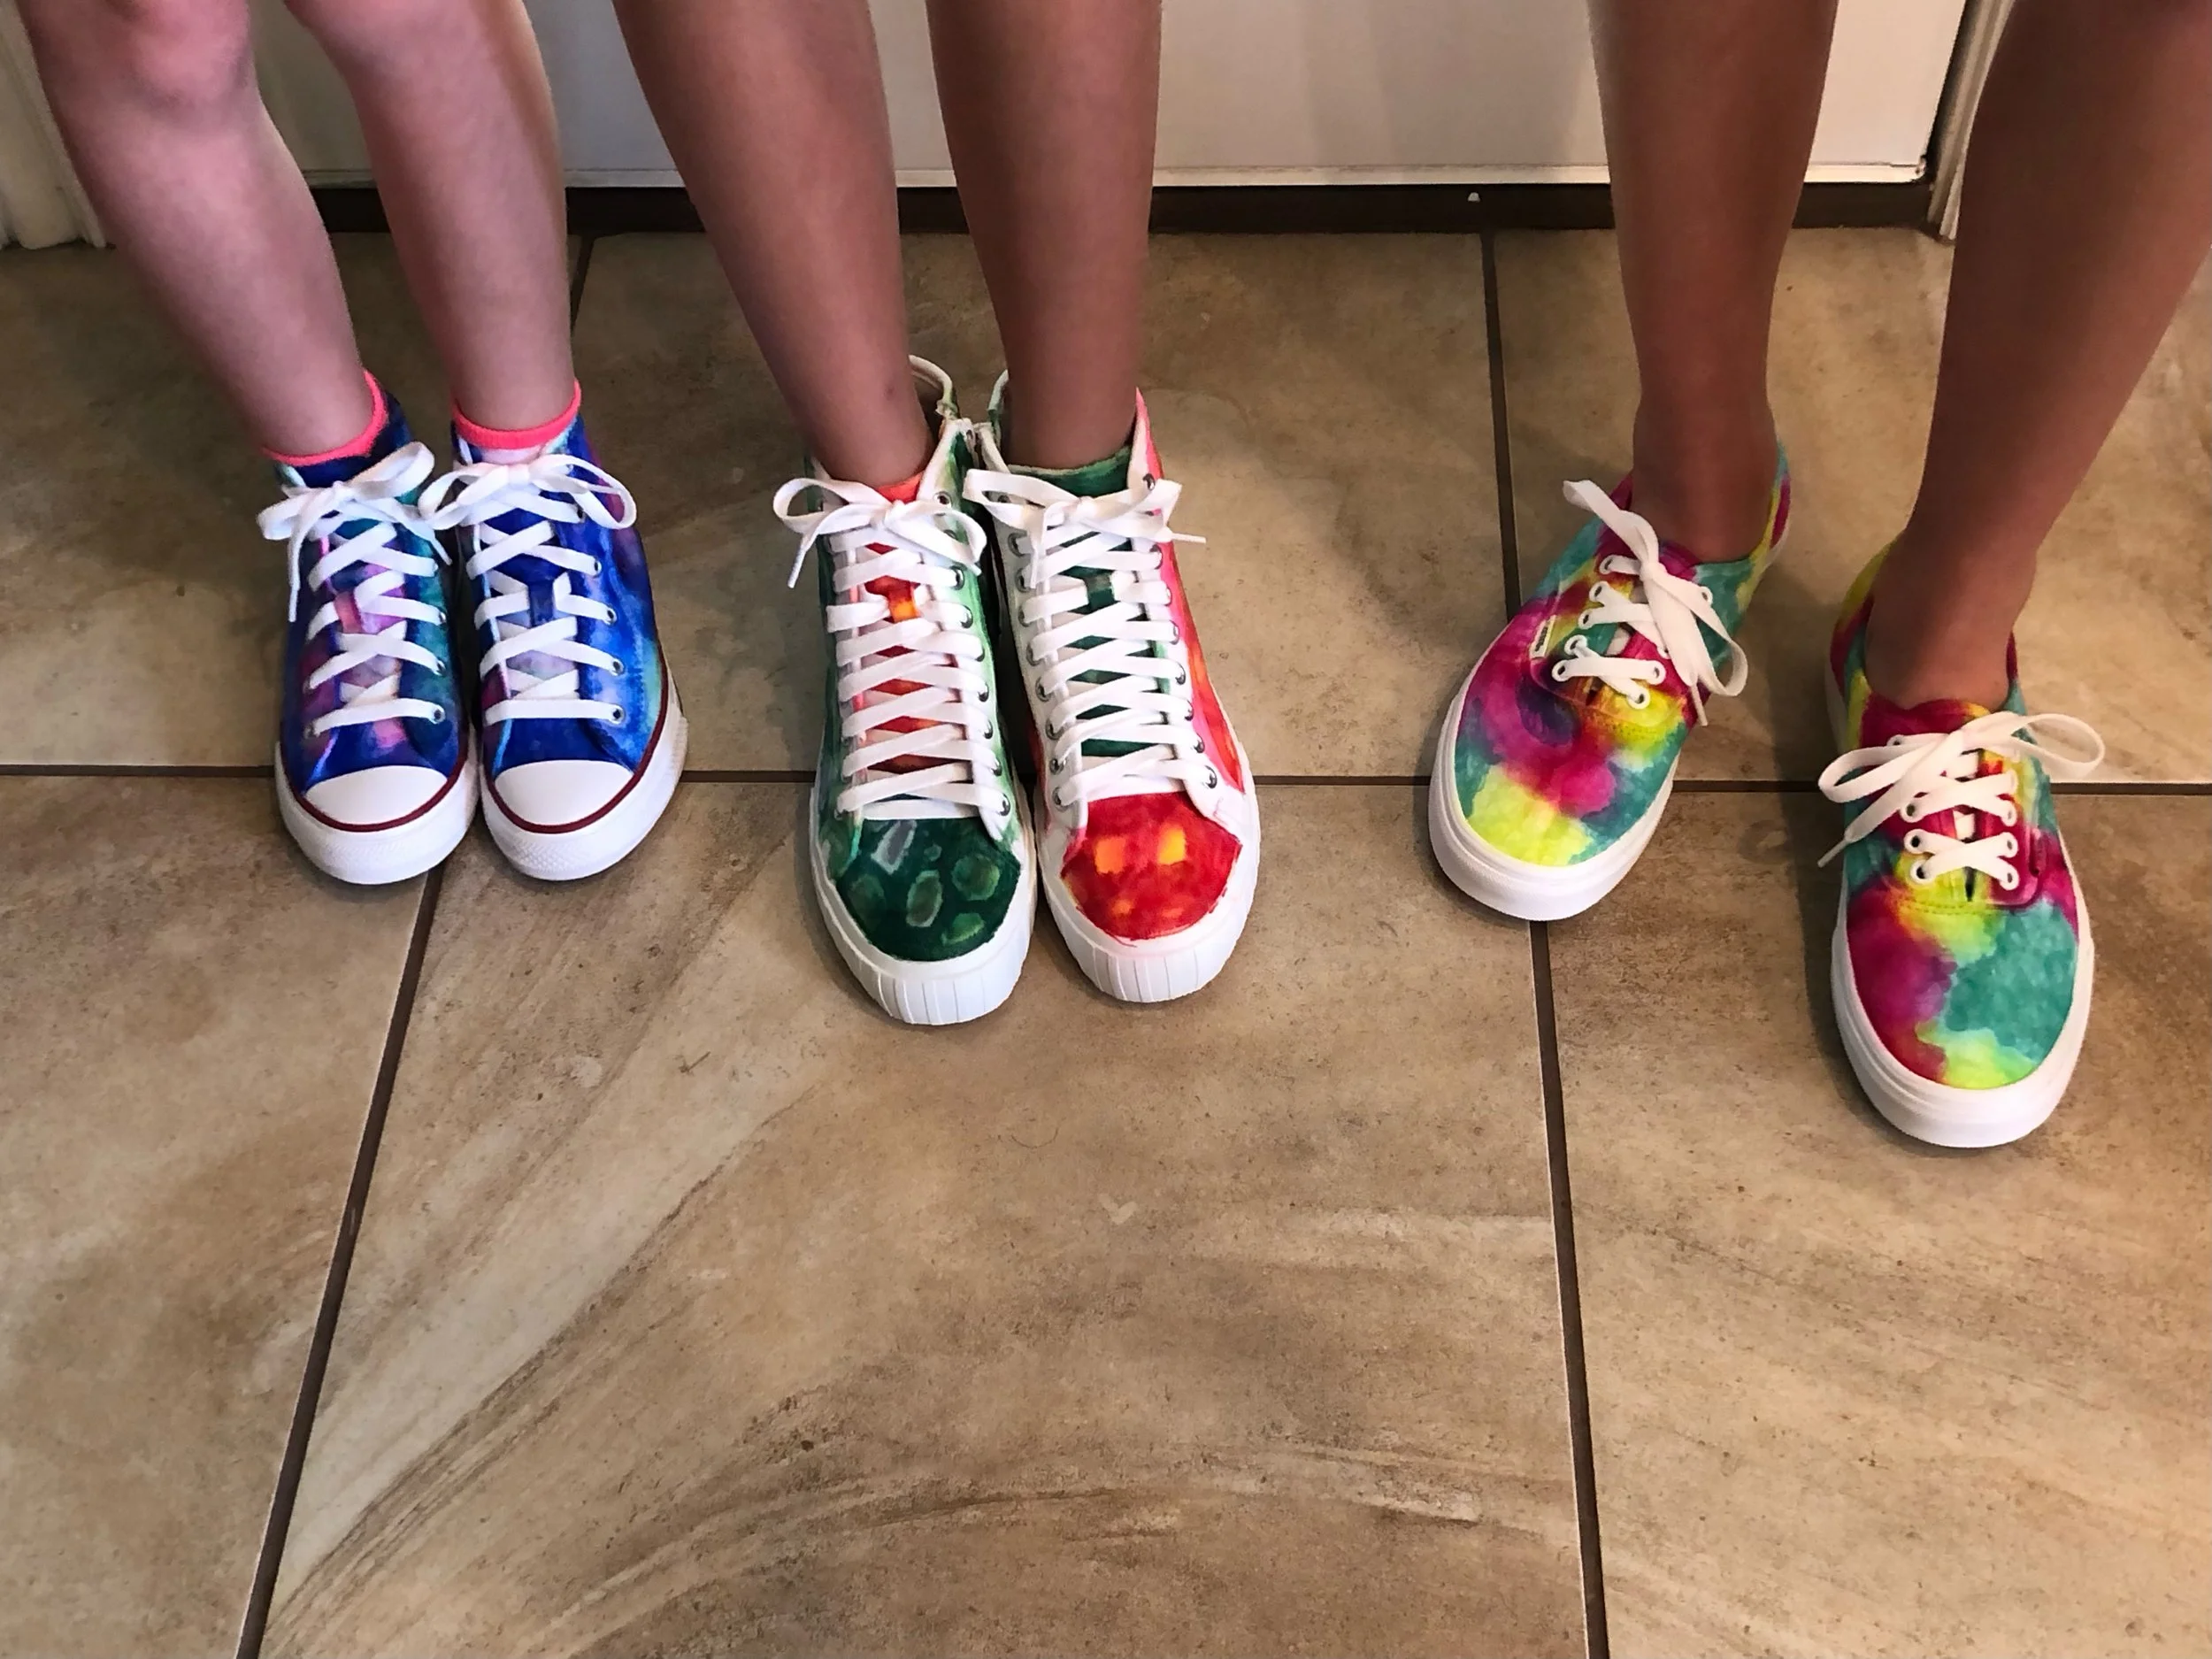
Tie-Dyed Tennis Shoes
/

I’ve been thinking about this post for a couple years now. If you’re looking for a fun craft to do with your kids, this is a good one. Yep, it’s a little time consuming . . . and a tad bit messy which is why I chose to do it outside in the summer time, but the kids loved it! In fact, they loved it so much, we actually did it two summers in a row while we were up doing Great-Grandma Camp with Ron’s mom in Morgan, Utah.


You’ll need a pair of white canvas tennis shoes, a wide color variety of Sharpie markers, a large jar of Vaseline, large plastic garbage bags to cover your work area with, lots of paper-towels, a stiff flat-edge paint brush, a large bottle of rubbing alcohol for each pair of shoes, a large bottle of matte-finish Mod-Podge, and an eye dropper from the pharmacy. I actually ordered my eye droppers from Amazon and they came with a small bottle which made it a lot easier for the kids to use. You’ll just need to keep re-filling the small bottle for them.
I also had a piece of canvas fabric for them to practice on. This made it easier for them to visualize how the colors would look on their shoes.


Make sure each child has a large workspace. You don’t have to do anything to pre-treat the shoes, which is nice. We removed the shoe laces because we didn’t want those to be tie dyed. Have them practice on their scrap piece of canvas by scribbling small areas with the Sharpie markers, and then have them squirt some rubbing alcohol over the marker to make it bleed and blend the colors together.
Once they’ve chosen 2-4 colors for their shoes, they will need to paint a heavy coat of Vaseline on the rubber sole part of their shoes. I just had them do this on the sides, not the bottom. They will need to be very careful not to touch the Vaseline on the canvas part of the shoe. Anywhere the Vaseline touches, the Sharpie marker ink will not penetrate.
By coating the rubber with the Vaseline, it protects the rubber from getting stained by the ink and it really works! I have to admit I was a little worried the younger kids would have a difficult time not touching the Vaseline on the soles of their shoes as they worked, but even my four year old did a perfect job! Once the shoes are totally dry, you can help them wipe the Vaseline off with a paper towel.


Once they have the soles covered with Vaseline, they can begin scribbling on their shoes with the markers. Once they have one shoe colored, put a few paper towels under the shoe and have them squirt the rubbing alcohol over the Sharpie marker scribbles. They need to be generous with the alcohol, the shoes need to be totally saturated. At first it seems the colors won’t bleed, but you will need to have them apply numerous layers of rubbing alcohol, and even rubbing the scribbles with a scrap of canvas to help the colors blend more. Keep applying the rubbing alcohol, until the shoes have reached the desired blend they want, then allow the shoes to totally dry. Keep in mind, some colors bleed and blend more than others. We even re-scribbled some after they had dried, and re-applied the rubbing alcohol. This helped blend the colors better to do this a second time.


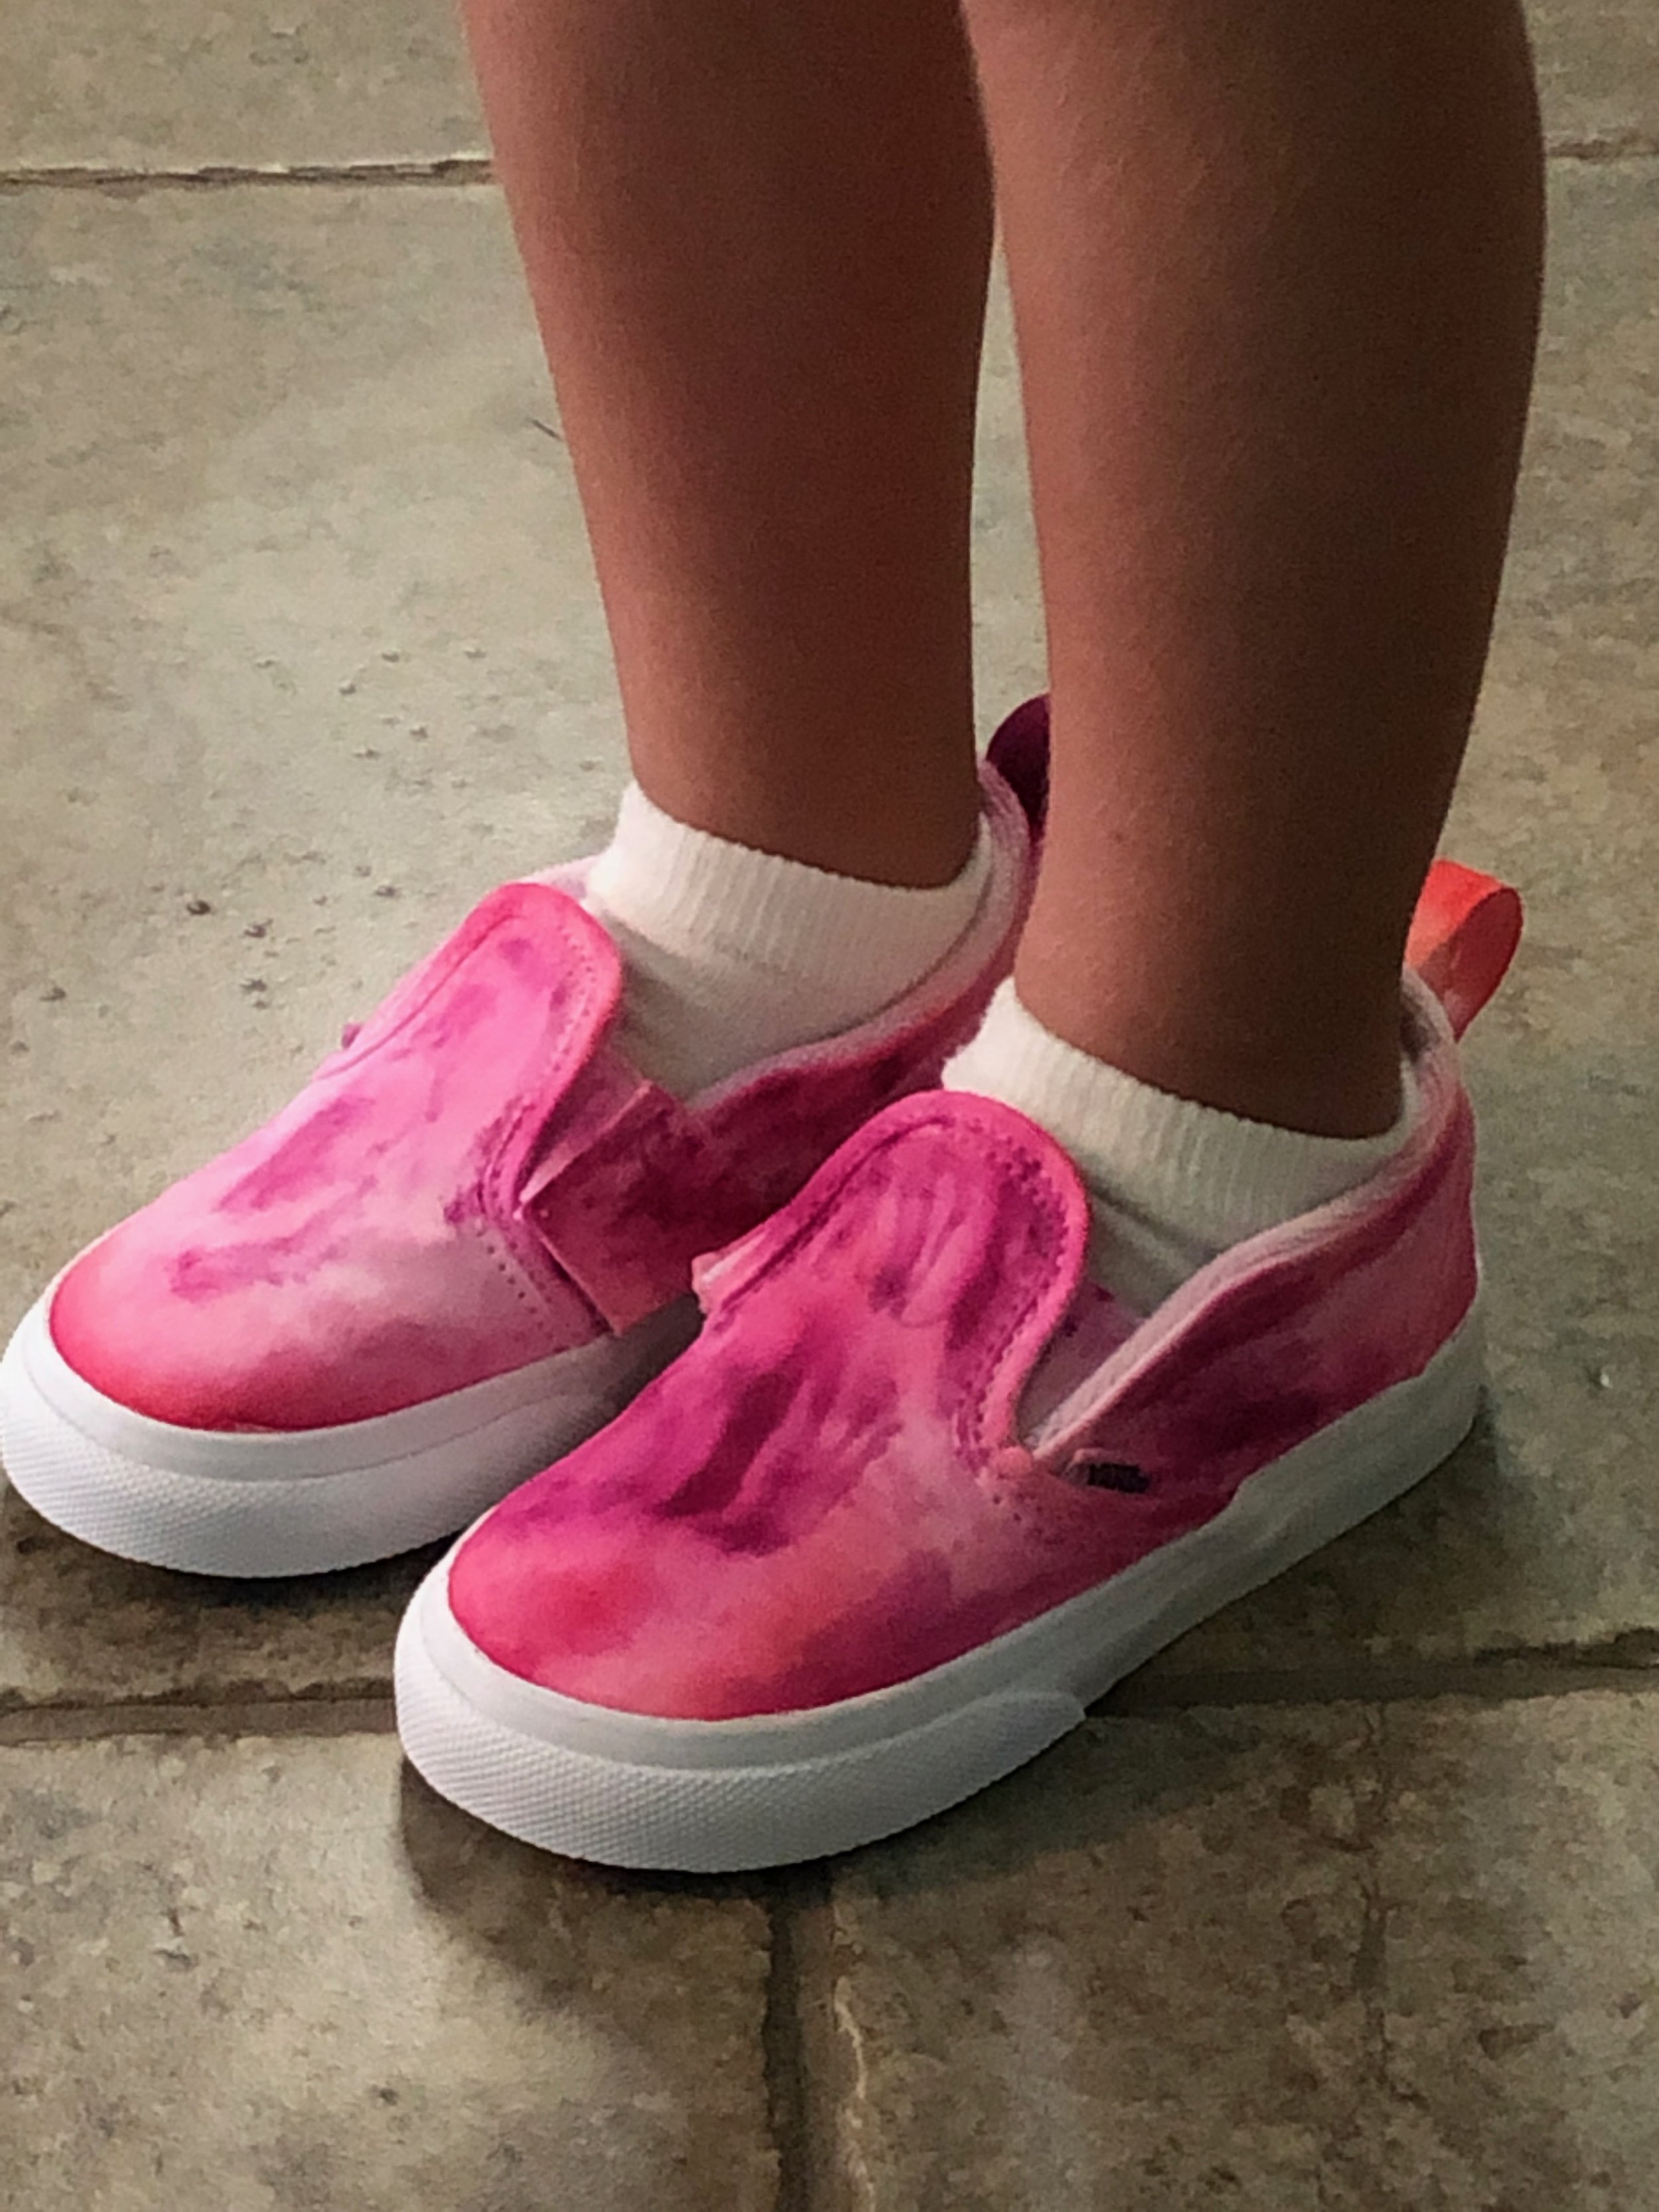
Once they are totally dry, have them seal the marker with the Matte Mod-Podge being careful to not get the Vaseline on the canvas part. When the Mod-Podge is totally dry, you can wipe the Vaseline off with paper towels, and then re-insert the shoe laces. The kids wore their shoes a lot, and yes at first they did have a little color transfer to their socks, but this only happened with some of the marker colors, not all of them. After a few wearing’s, the ink transfer stopped. My daughter even washed their shoes numerous times during the school year, and the ink stayed put.


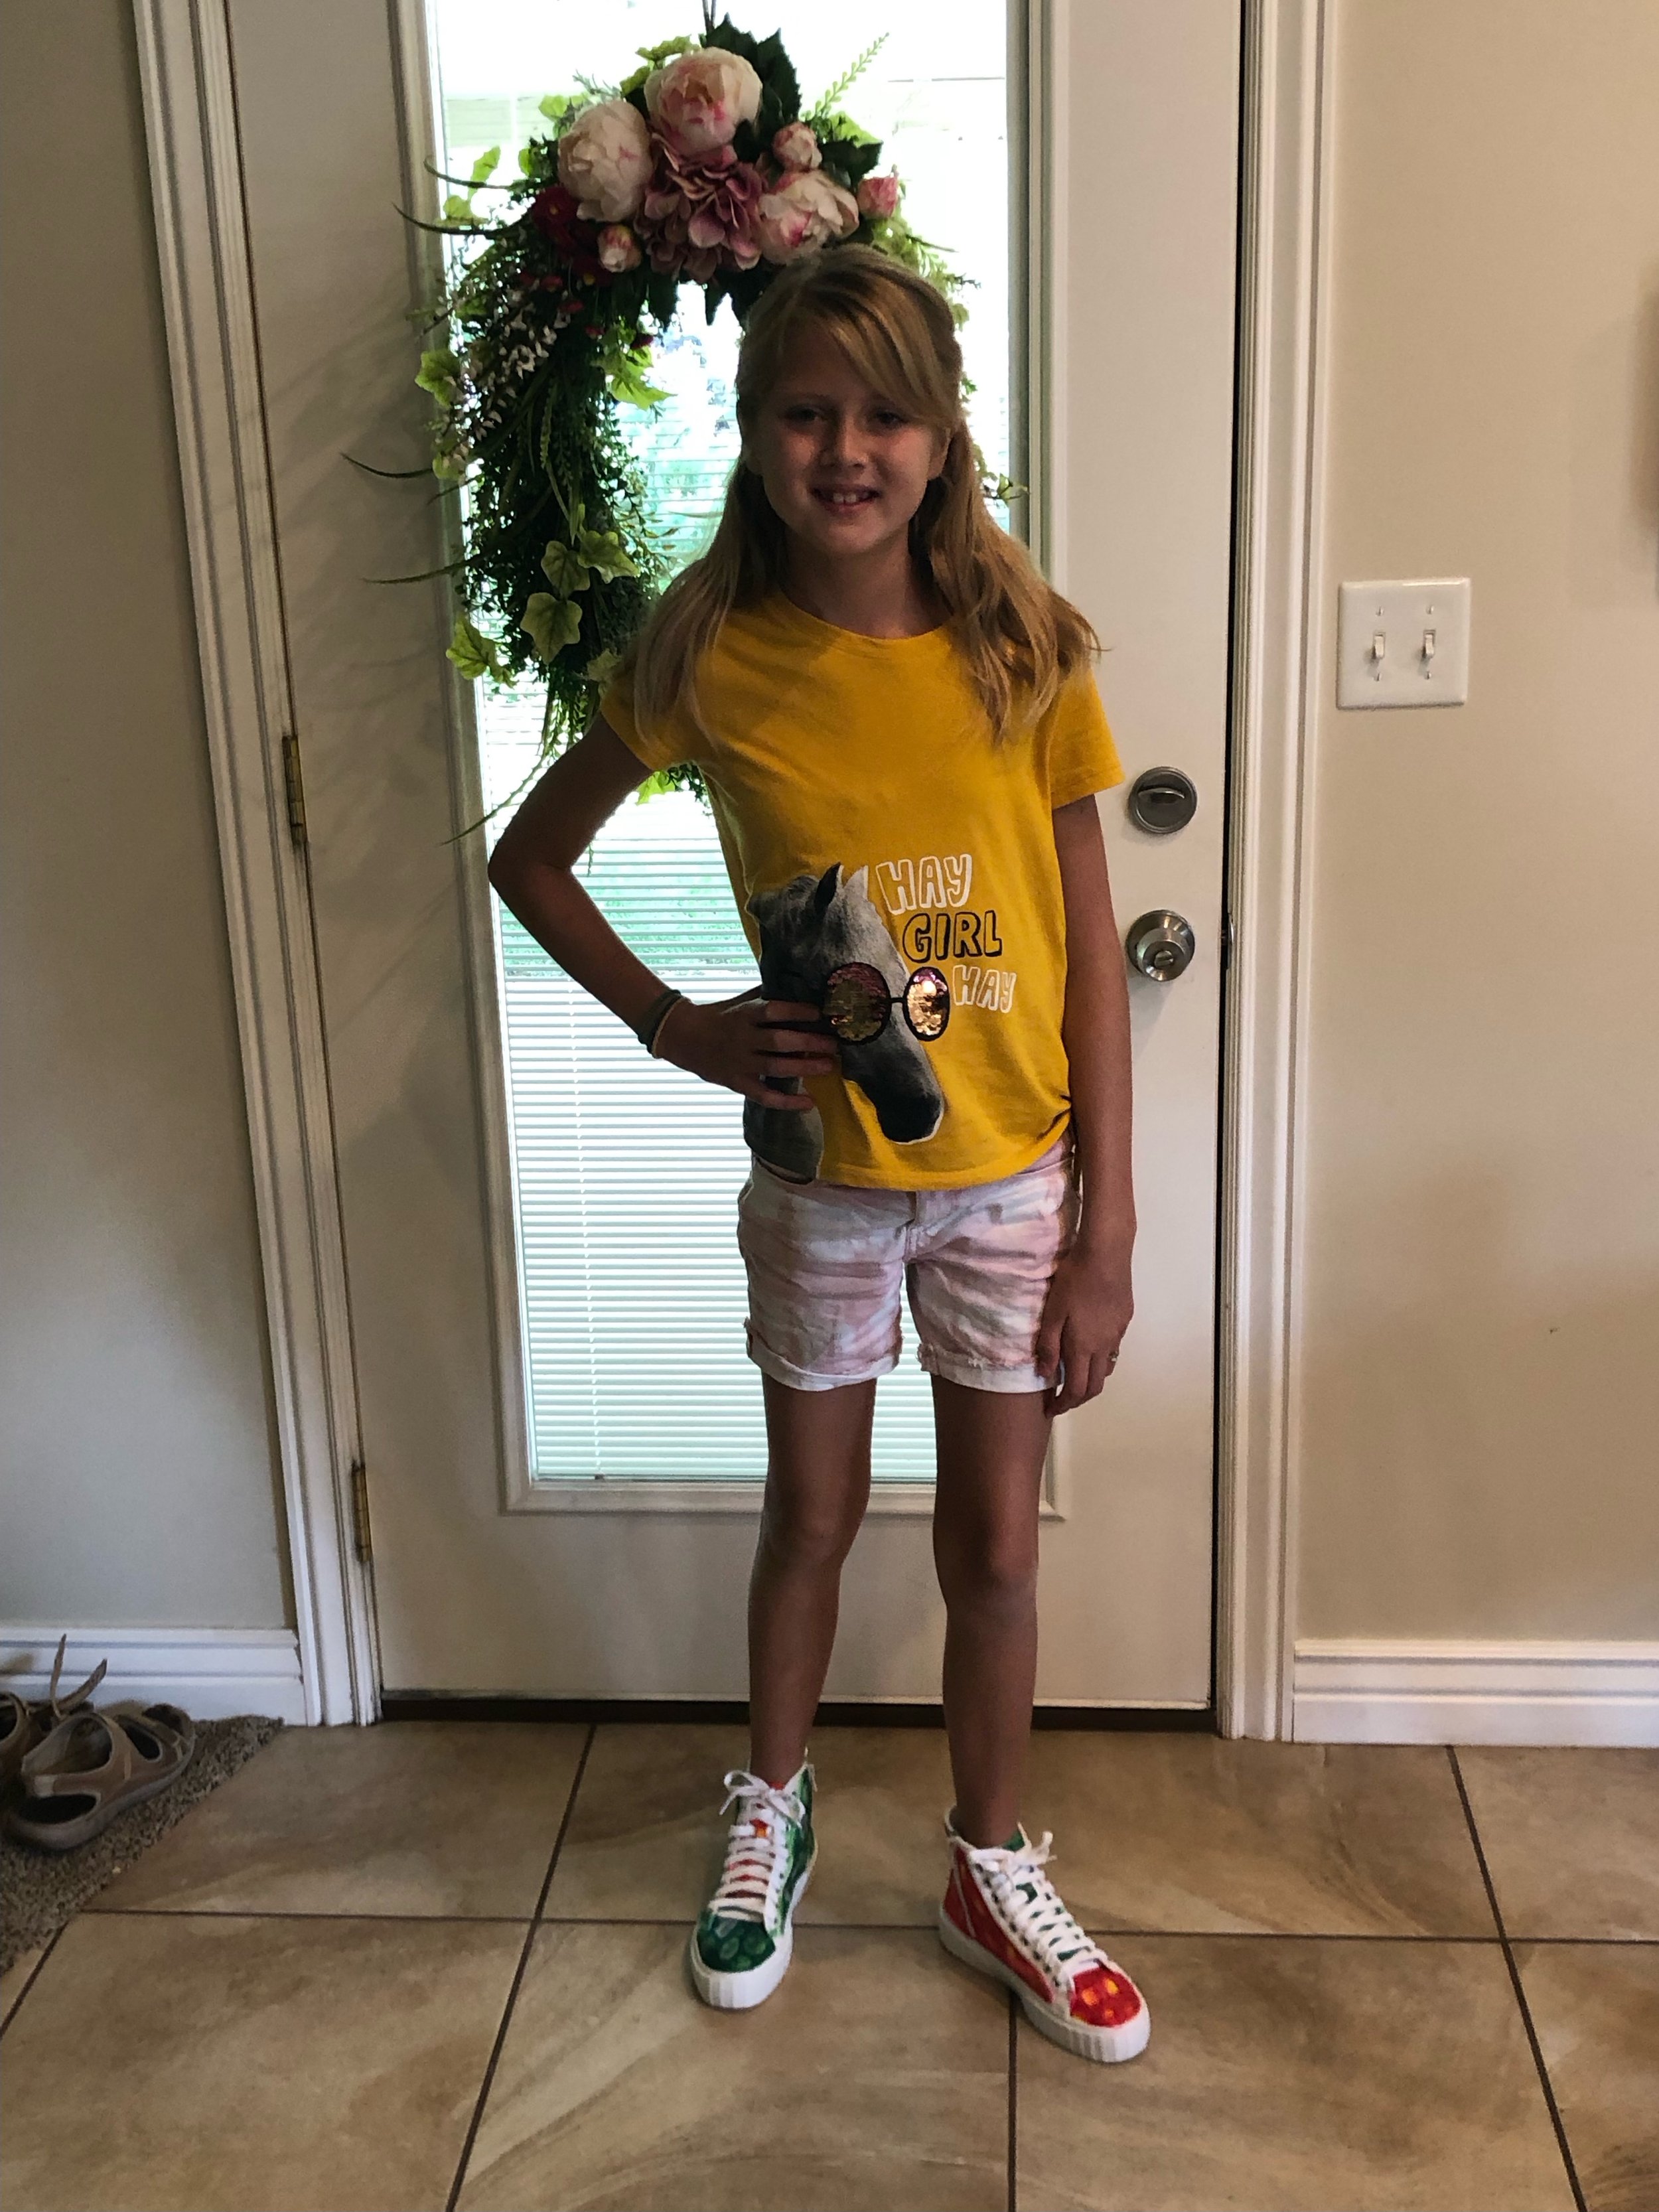
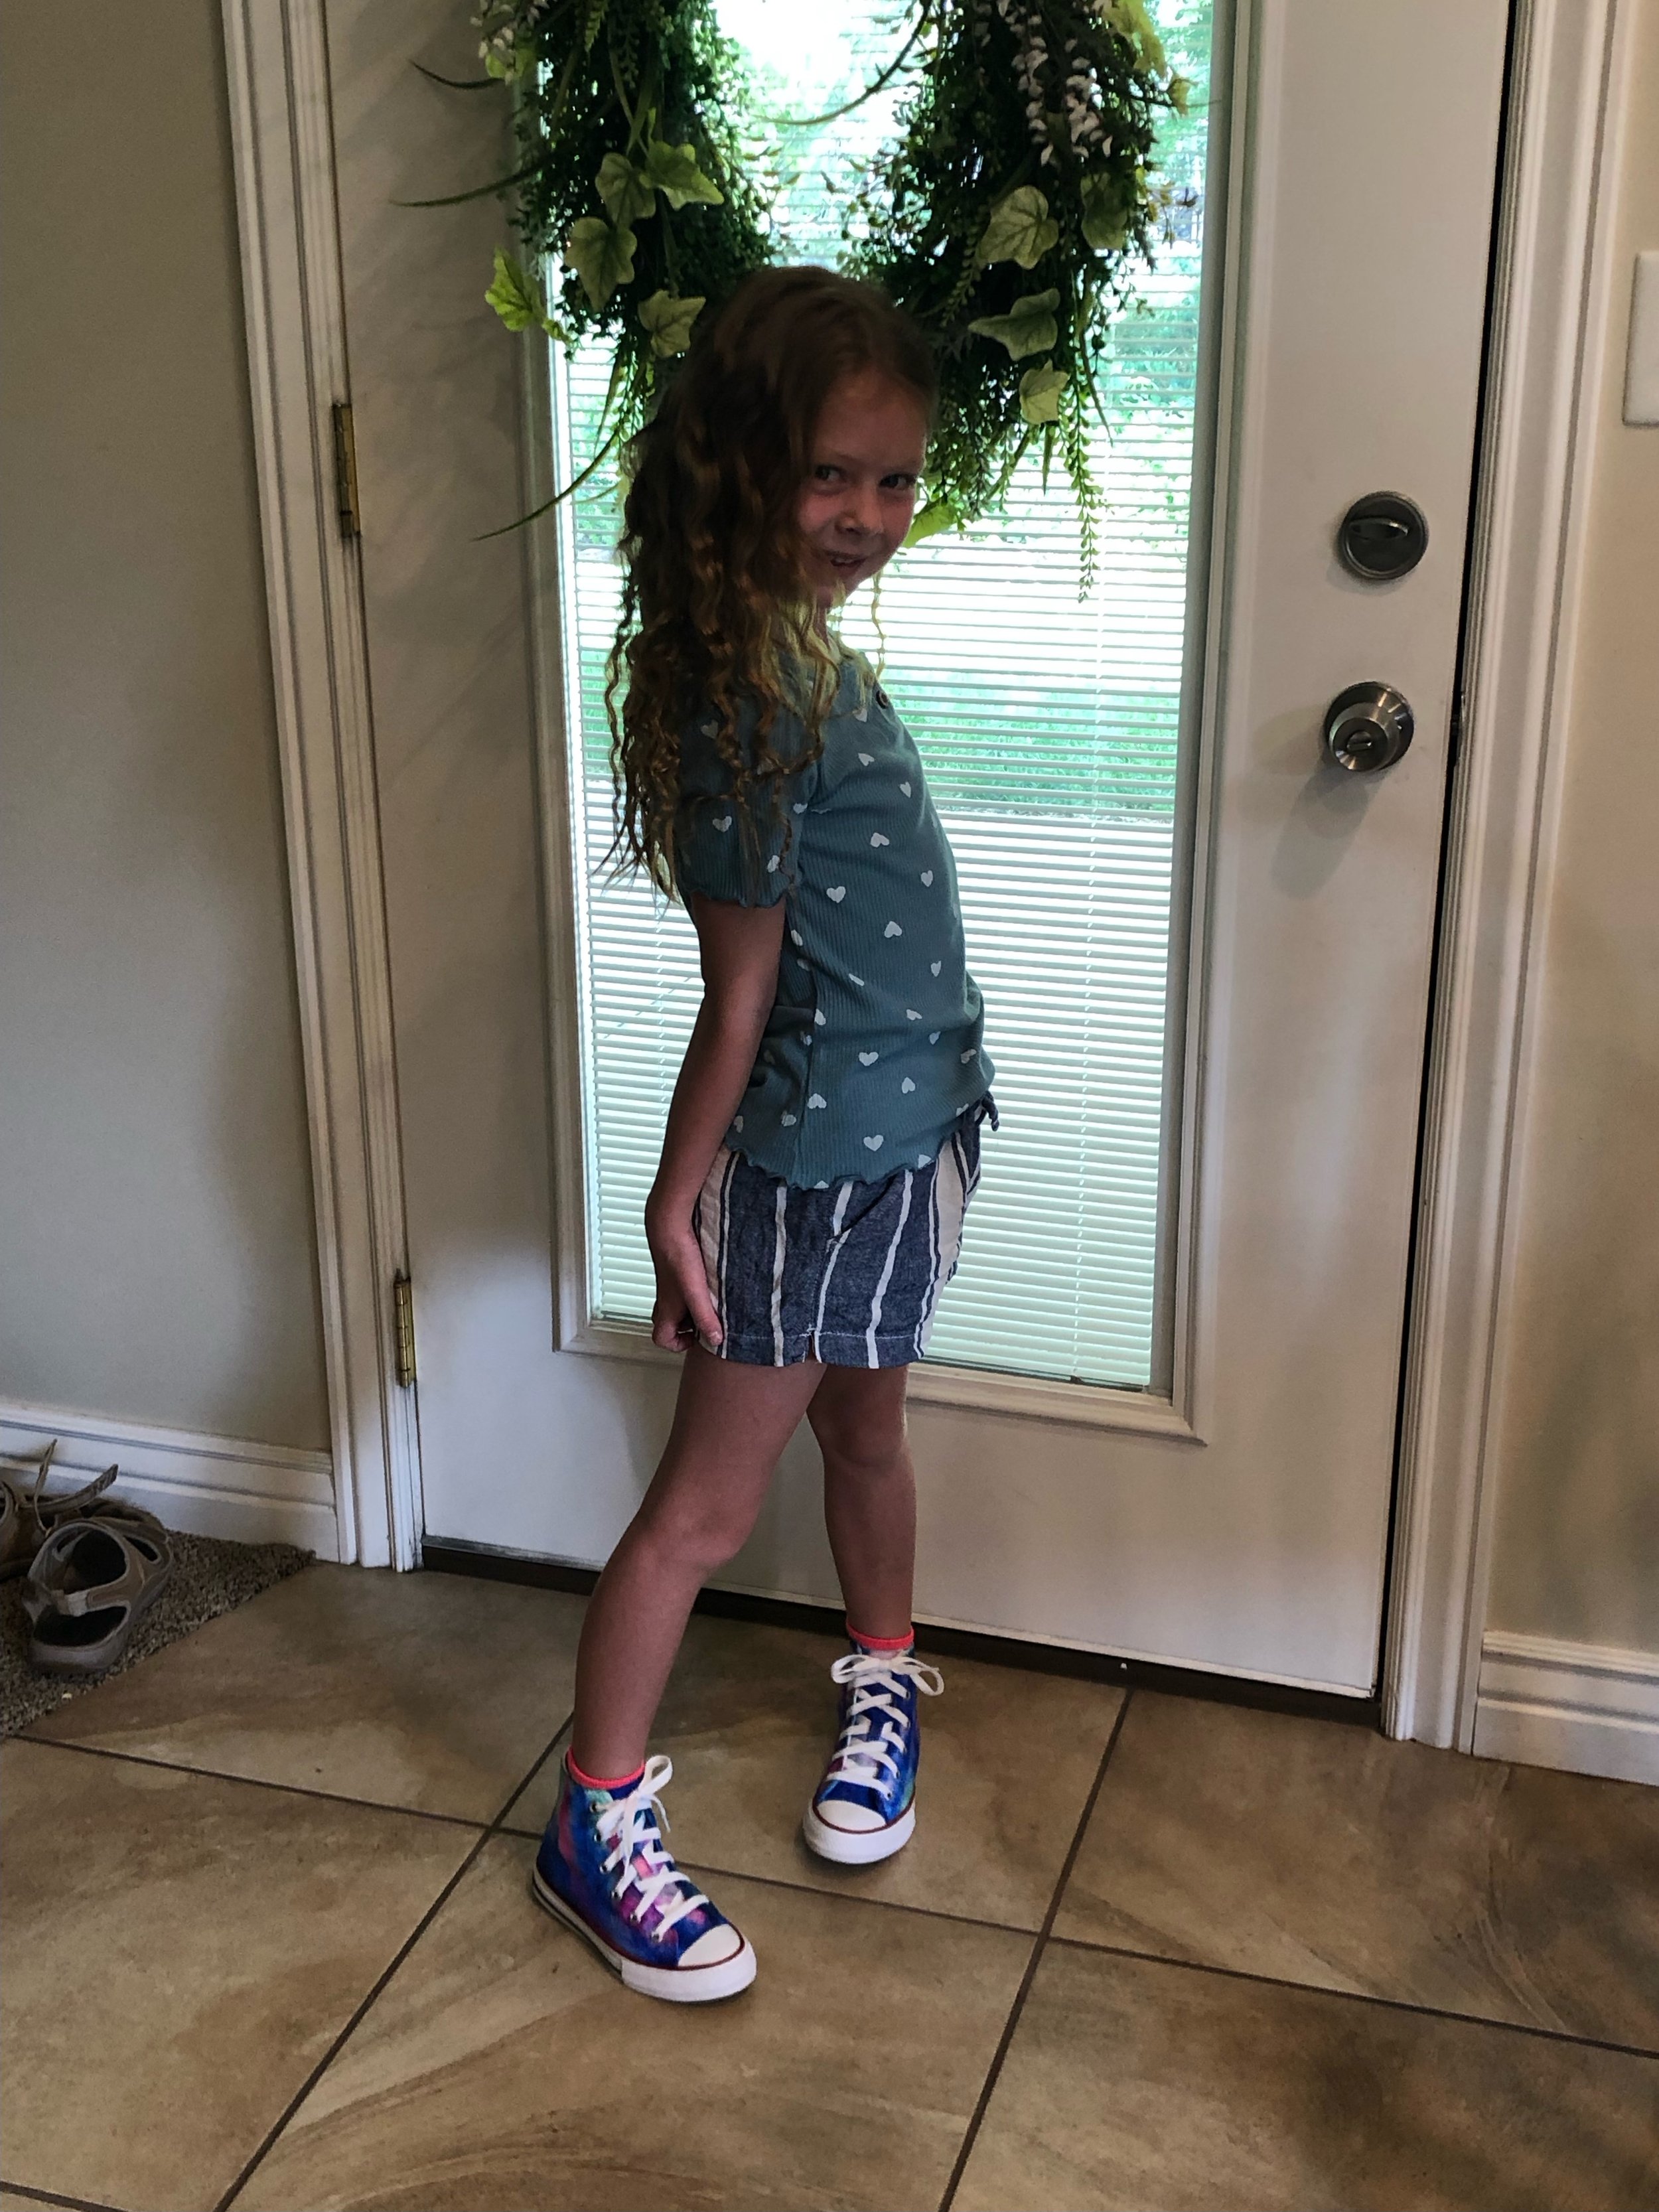
The kids loved this so much, they asked to do it again the following year. It does take a little practice to get the technique down, and it is a time consuming project. In the end they each had their own custom shoes to start school in, and I loved how each pair reflected the personality of the child who created them! Another reason it was nice to do this project outside was better ventilation using the markers and the rubbing alcohol. No one seemed to have any ill effects from the smells, and this project took up a lot of time. If you’re concerned about this, use a different method. I actually looked this process up on You-Tube. Using Sharpie markers was so much cleaner and easier than using actual tie-dye ink in squirt bottles. The best part, no one got bored.


I love the LIGHT I see in my grandkids faces as they use and develop their creativity and God given talents! If you’re looking for a project to do with your kids over Spring break, or a summer project, this is a great one! Providing craft projects for kids encourages creative thinking, and the sense of accomplishment they feel afterward is the reward! If you’re looking for ways to bring LIGHT into your life, go create something of beauty!
Love Ya, Les :)